step 1: Open the following url in any browser
https://developer.salesforce.com/signup
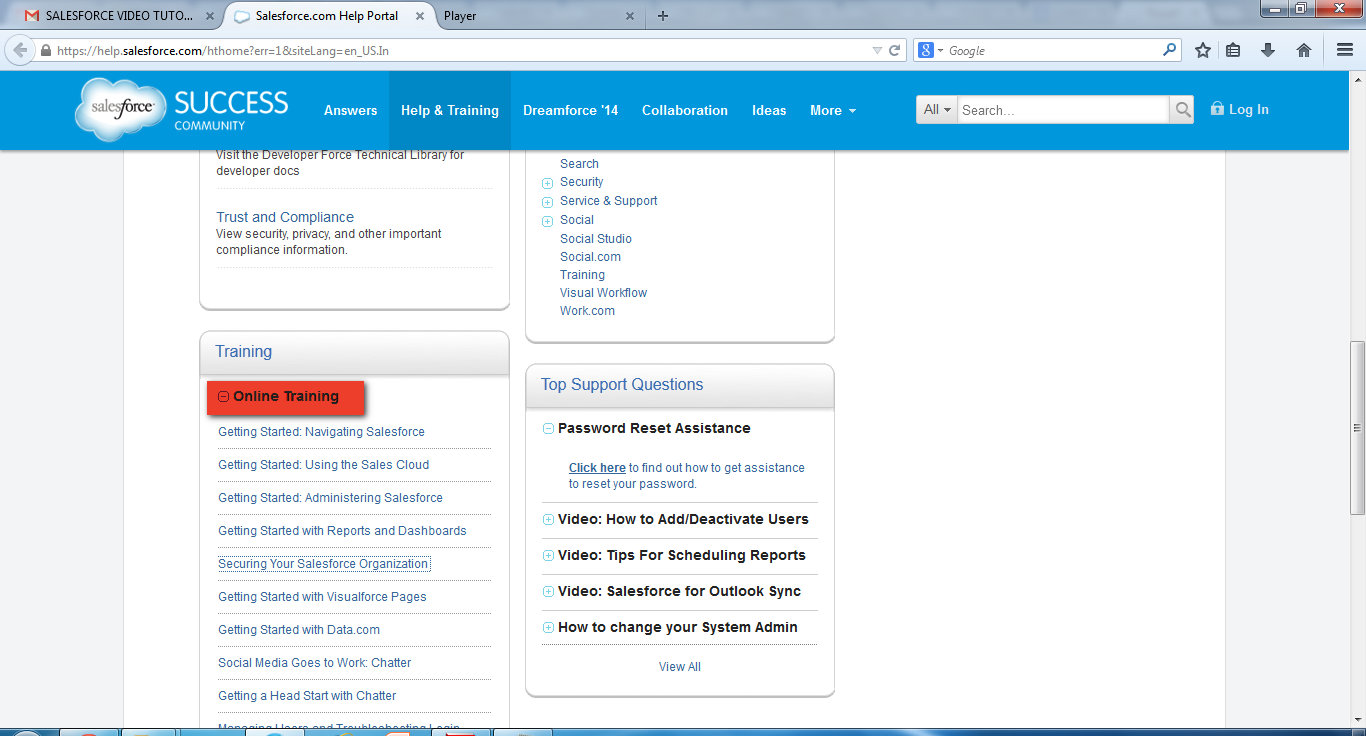
step 2: The page will be as shown below.
https://developer.salesforce.com/signup
step 2: The page will be as shown below.


 and it does not allow you to operate on more than certain number of records which satisfies the Governor limits.


public with sharing class GroupBy{

  public List<account> accounts {get;set;}
  public Account ac {get;set;}
  public String[] states {get;set;}
  id x;
  public GroupBy()
  {
    ac = [ select Name FROM Account
    WHERE id = :ApexPages.currentPage().getParameters().get('id')];
     x=ac.id;
  }
  public id getQuantity1() {

        return x;
    }

  public void load() {
  List<String> lstPickvals=new List<String>();
  Schema.DescribeFieldResult fieldResult =
account.active__c.getDescribe();
  List<Schema.PicklistEntry> ple =fieldResult.getPicklistValues();
  system.debug('....'+ple );
  for (Schema.PicklistEntry a:ple ){//forall values in picklist list
      lstPickvals.add(a.getValue());//add value to our final list
   }
   system.debug('....'+lstPickvals);
    // for demo purposes limit the states
    accounts = [Select ID, Name,active__c From account
      Where Active__c IN: lstPickvals];

    // dynamically create set of unique states from query
    Set<String> stateSet = new Set<String>();
    for (account a : accounts)
      stateSet.add(a.Active__c);

    // convert the set into a string array
    states = new String[stateSet.size()];
    Integer i = 0;
    for (String state : stateSet) {
      states[i] = state;
      i++;
    }

  }

}
The code for visualforce page:
<apex:page controller="GroupBy" action="{!load}" sidebar="false">
 <apex:sectionHeader title="My Sample Display Page"
subtitle="Group by picklist field value" description=
"shows how you can dynamically group results by field value."/>

 <apex:repeat value="{!states}" var="state">

 <apex:pageBlock title="{!state}">

  <apex:repeat value="{!accounts}" var="account">
<apex:outputPanel rendered="{!IF(state=account.Active__c,true,false)}">
    {!account.Name} - {!account.Active__c}<br/>
</apex:outputPanel>

   </apex:repeat>

    </apex:pageBlock>

  </apex:repeat>
 {x}
</apex:page>
When we run the visualforce page with accountid,
the output will be as follows


<style>
.rowColor {
background-color:orange;
}
</style>
<script>
var pRow='';
function highlightElem(a) {
var c=a.className;
// alert(c);
a.className="rowColor";
if(pRow==''){
pRow=a;
}
else {
if(pRow.innerHTML!=a.innerHTML) {
pRow.className=c;
pRow=a;
}
}
}
</script>
<apex:form >
<apex:pageBlock >
<apex:PageBlockTable value="{!accounts}" var="r" onRowClick="highlightElem(this)" >
<apex:column value="{!r.Name}" />
<apex:column value="{!r.Phone}" />
<apex:column value="{!r.Type}" />
</apex:PageBlockTable>
</apex:pageBlock>
</apex:form>
</apex:page>