Problem: An opportunity report is created using custom report type.
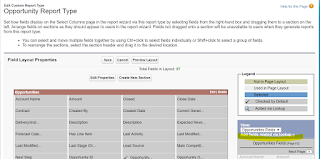
When we are displaying Billing City of Account object in report,its column name is showing as "Account Name: Billing City" as shown in the image below.

We need to change that column name from "Account Name: Billing City" to "Billing City".
Solution : We can change the column names from the edit layout of custom report type created.
Steps :
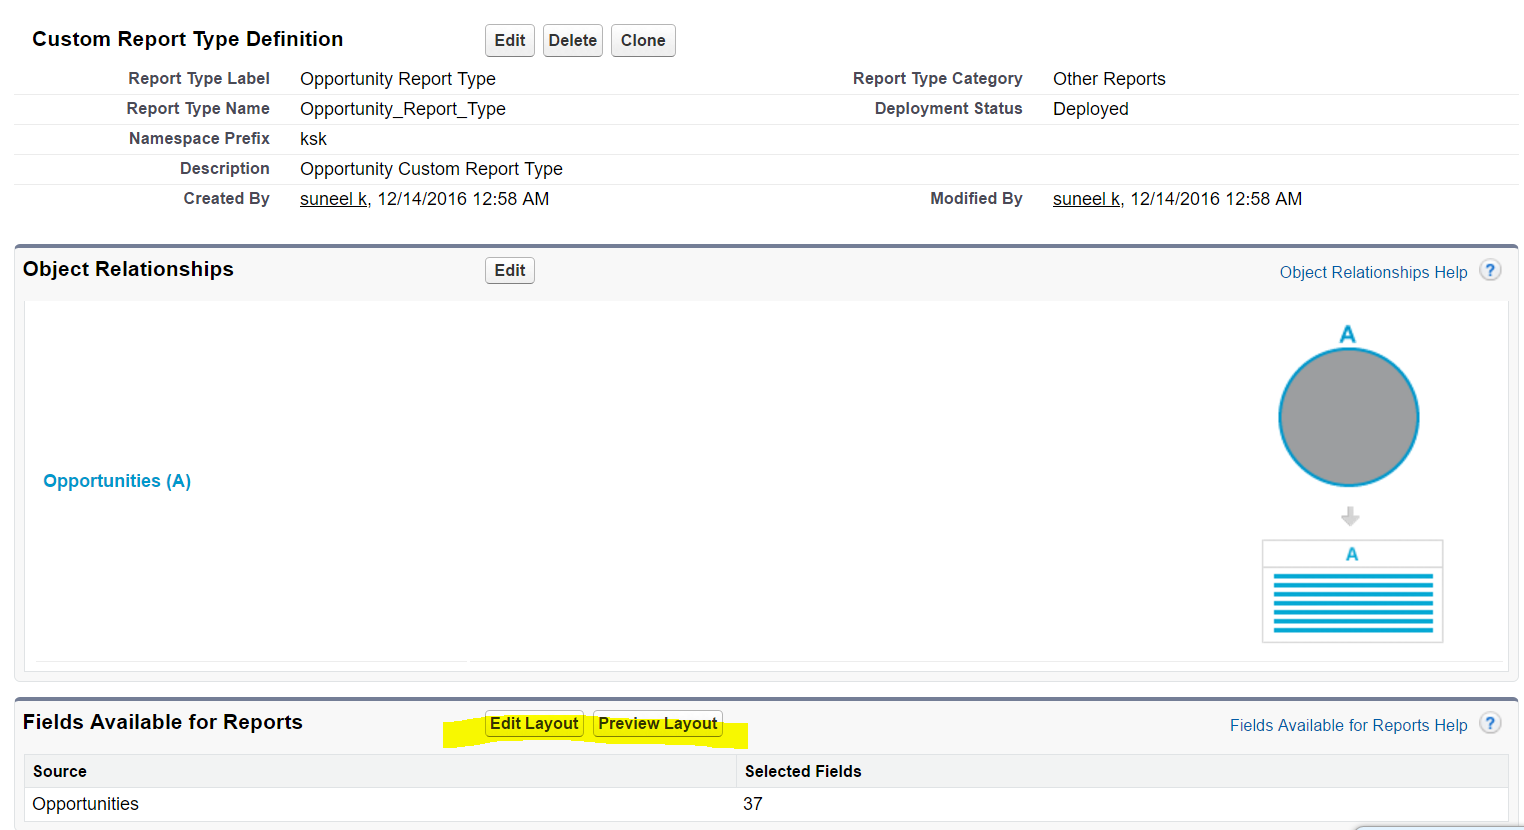
1) Go to the custom report type created from setup --> Create --> Report Types.
Click on the label of that particular report type.A screen will appear as shown in the image below.

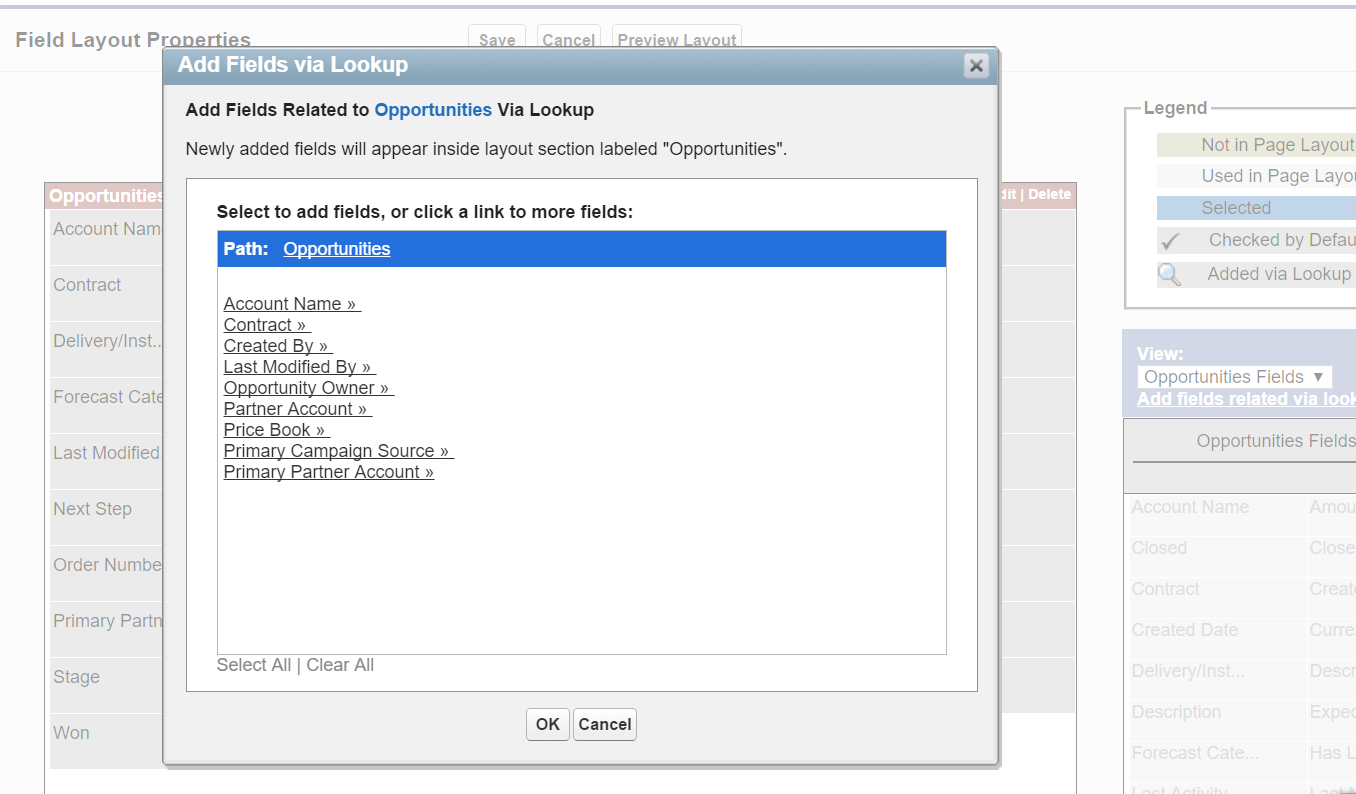
2) Click on the "Edit Layout" button. The layout will be opened as shown in the image below.
3) Search the column in the layout whose name to be changed.For example "Billing City" as shown in image below.

4)Double click on that particular field,A popup window will be opened as shown in the image below

Now you can change the name in "Display As" column as Shown in the image below.

Click "ok" after changing column names and then save the layout.
Now you can refresh the report and observe that the column names are changed...
 Enjoy...
When we are displaying Billing City of Account object in report,its column name is showing as "Account Name: Billing City" as shown in the image below.

We need to change that column name from "Account Name: Billing City" to "Billing City".
Solution : We can change the column names from the edit layout of custom report type created.
Steps :
1) Go to the custom report type created from setup --> Create --> Report Types.
Click on the label of that particular report type.A screen will appear as shown in the image below.
2) Click on the "Edit Layout" button. The layout will be opened as shown in the image below.

3) Search the column in the layout whose name to be changed.For example "Billing City" as shown in image below.

4)Double click on that particular field,A popup window will be opened as shown in the image below

Now you can change the name in "Display As" column as Shown in the image below.

Click "ok" after changing column names and then save the layout.
Now you can refresh the report and observe that the column names are changed...